Proper shoe clipping is essential for achieving the best cycling performance, especially with Peloton bikes.
When you clip your shoes into the pedals, you can make the most of your pedal strokes by engaging muscles on both the downstroke and the upstroke.
This increases efficiency, power, and overall performance. It can be tricky at first, but understanding how to clip and unclip your Peloton shoes properly is vital for both beginners and experienced cyclists alike.
You Might Also like to Read: Why Do My Peloton Shoes Squeak?
Brief Overview of Peloton Shoes and Their Features

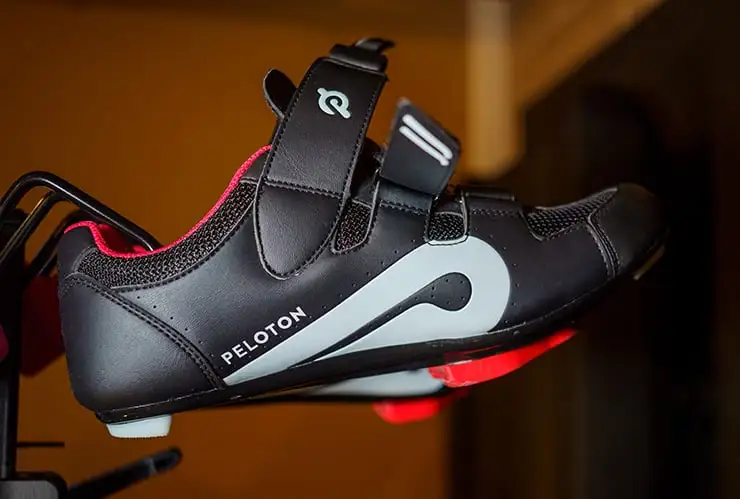
Peloton shoes are specially designed for Peloton cycling. They come with features that enable secure clipping into the bike’s pedals.
These shoes offer a rigid sole that aids in powerful pedaling, and the clipping mechanism helps maintain proper foot alignment.
Recommended: Are Peloton Shoes Good For Wide Feet?
Peloton shoes not only enhance comfort but also provide the necessary stability to keep your feet in place during intense workouts.
Process of Unclipping Peloton Shoes
Unclipping your Peloton shoes is as important as clipping them in. It’s a skill that requires practice, especially for those new to clipped pedals.
Proper unclipping ensures safety while stopping or slowing down and allows for more natural movement off the bike.
This article will guide you through the process, providing step-by-step instructions, tips, and more.
How to Unclip Peloton Shoes?
Mastering the technique to unclip Peloton shoes is crucial for every rider’s safety and performance, allowing for smooth transitions and optimal control during workouts.
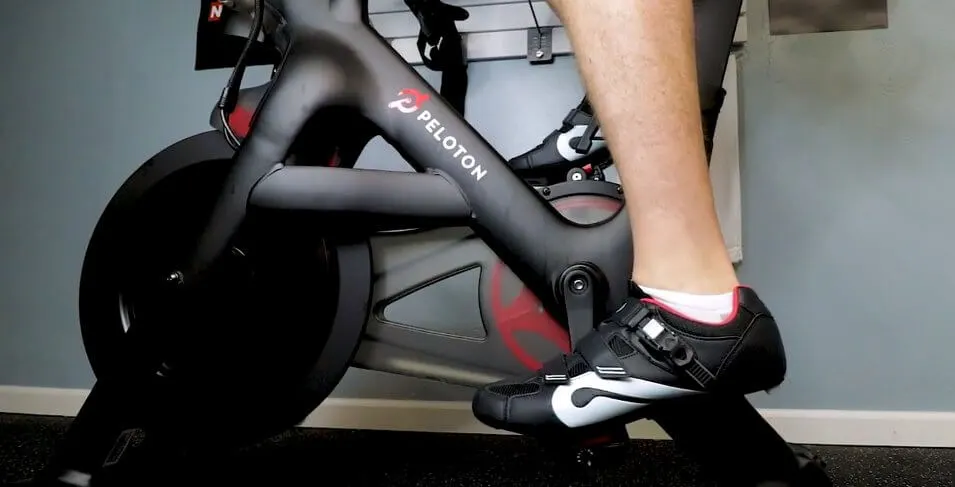
1. Prepare to Unclip: Slow down and stabilize your position on the bike, focusing on one foot at a time.
2. Loosen the Tension (if needed): If you’re new to unclipping, consider loosening the pedal tension for an easier release.
3. Twist Your Heel: To unclip, firmly and smoothly twist your heel outward away from the bike until the shoe releases.
4. Practice Safety: Always perform unclipping in a controlled environment, practicing by holding onto a stable surface such as a wall or rail.
5. Repeat and Build Confidence: Repeat the unclipping process until it becomes a fluid movement, gradually increasing tension as you grow more comfortable.
6. Consider Watching Visual Guides: Utilize video tutorials or visual guides for a more detailed understanding if needed.
7. Ensure Proper Equipment: Regularly check the condition of your cleats and pedals to ensure optimal function.
8. Incorporate into Rides: Practice unclipping while riding to integrate the skill into your regular cycling routine.
Preparing to Unclip
Before unclipping your Peloton shoes, reduce your speed and find a stable position on the bike. Focus on one foot at a time. To unclip, twist your heel outward away from the bike. It might require a bit of force initially, but with practice, it becomes a smooth, natural motion.
Techniques for Unclipping Safely
Safety is paramount when unclipping your shoes. Always perform the action in a controlled environment before attempting it on a ride. Practice by holding onto a stable surface, such as a wall or rail.
The twisting motion is key, and your ankle’s flexibility plays a significant role. Remember, a sudden or jerky movement can lead to losing balance, so take your time to master the technique.
Tips for Unclipping While Riding
Unclipping while riding requires practice and confidence. Start by loosening the tension on the pedals if you’re new to this. As you approach a stop or need to put your foot down, turn your heel outward gently until the shoe releases.
Repeat this until it becomes a fluid movement, and gradually increase the tension as you become more comfortable.
A Visual Guide or Video Tutorial
For those who prefer visual guidance, consider watching video tutorials. Several online resources provide detailed video instructions, demonstrating the unclipping process from various angles. Follow along with these tutorials to gain a more in-depth understanding of the technique.
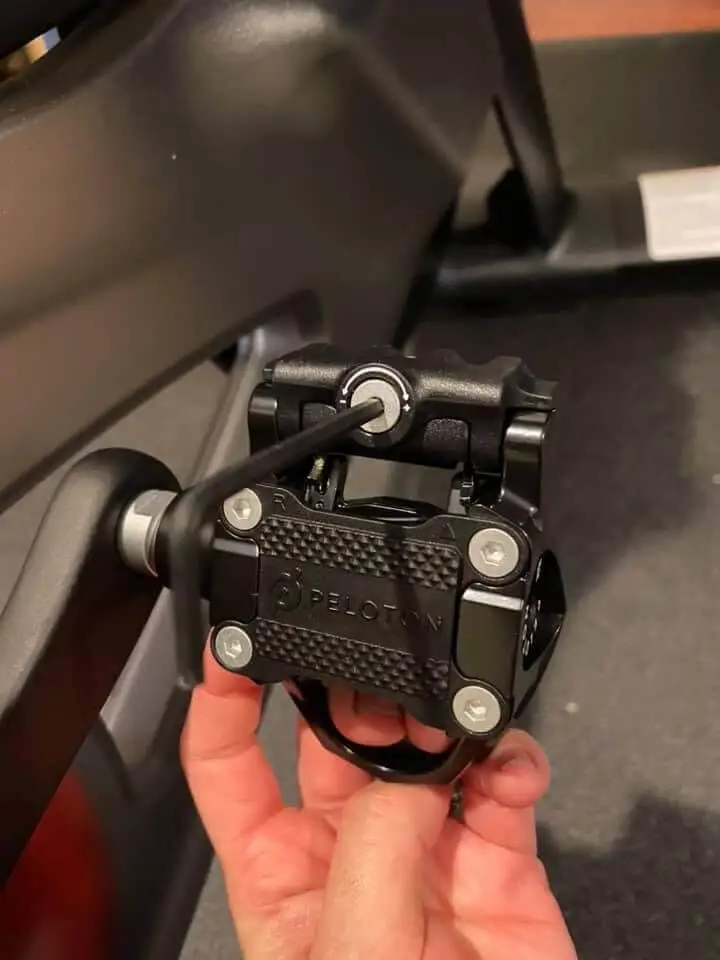
The clipping mechanism in Peloton shoes is a combination of specially designed cleats and pedals. The cleats on the bottom of the shoes lock into the pedals, allowing for a secure connection. This connection enables you to exert force throughout the entire pedal stroke, improving efficiency. To release the connection, you simply twist your heel away from the bike, and the cleat disengages from the pedal.
Proper clipping and unclipping not only enhance your riding experience but also protect your safety. Clipping ensures you have control over the bike, especially during intense workouts, while unclipping allows for easy dismounting or balance recovery. Together, these practices enable a more engaging, effective, and enjoyable cycling experience.
Peloton shoes typically use a three-bolt cleat system, compatible with most road bike pedals. However, other types of clips and pedals may be suitable depending on your bike and preferences. Understanding the compatibility between your shoes, cleats, and pedals ensures a secure fit and optimal performance.
Common Challenges and Solutions
Beginners often face challenges in clipping and unclipping Peloton shoes. It’s common to feel stuck or unable to release the shoe from the pedal. These difficulties can usually be overcome with practice, understanding the correct motion, and adjusting pedal tension. Persistence and patience go a long way in mastering this skill.
If you’re struggling with unclipping, consider these solutions: Adjust the tension on your pedals to make them easier to release; ensure your cleats are in good condition; practice the motion off the bike. With consistent practice and the correct adjustments, you can make unclipping a seamless part of your ride.
Safety Considerations
Understanding and practicing safe unclipping techniques with Peloton shoes is vital for every cyclist. It’s more than just a skill; it’s a safety measure that ensures smooth transitions on and off the bike. Incorrect unclipping can lead to mishaps, causing potential harm or discomfort to the rider.
The correct technique protects the rider’s feet and legs from strain, as well as preserving the integrity of the shoes and pedals. Investing time in learning safe unclipping practices contributes to a more pleasurable and worry-free riding experience.
Avoiding injuries while unclipping requires attention to detail and practice. Being cautious about the angle at which the foot is twisted, and the force applied, helps to prevent unwanted stress or strain. Practicing while holding onto a stable surface, like a wall, can reduce the risk of falling during the learning phase.
Understanding your specific pedal and shoe mechanism, combined with gradual practice, minimizes the risk of injuries like twisted ankles or strained muscles. Regularly inspecting the clipping system to ensure that it’s functioning correctly is also essential in injury prevention.
Care and Maintenance of Peloton Shoes and Clips
Regular care and maintenance of your Peloton shoes and clips are essential for their longevity and performance. Inspecting them for signs of wear, cracks, or other damages helps in early detection of potential issues.
Cleaning them gently with appropriate cleaning agents and a soft cloth keeps them free from dust and grime, which could otherwise hamper their functionality. Lubricating the clips occasionally can make the clipping and unclipping process smoother. This routine care not only enhances the performance but also contributes to safety.
Knowing when to replace clips or shoes is vital for maintaining optimal performance and safety. Visible signs of wear, like cracks in the clips or excessive wear in the shoe’s soles, are indicators that replacement is needed.
If unclipping becomes unusually difficult or if there’s a noticeable decrease in the security of the clip, these could be signs that parts need to be replaced. Regular inspection aids in determining the right time for replacement, ensuring that you never compromise on performance or safety.
How do you remove a stuck peloton pedal?
Got a stubborn Peloton pedal that’s not budging? No worries, I’ve got your back! Dealing with a stuck pedal might be a bit of a workout on its own, but fear not – here’s a step-by-step guide to help you get that pedal moving again:
- Gather Your Tools: Before you start, make sure you have the right tools on hand. You’ll need an adjustable wrench, some penetrating oil (like WD-40), and a clean rag.
- Position the Bike: Find a stable surface for your Peloton bike and make sure it’s properly balanced. Safety first!
- Apply Penetrating Oil: Spray some penetrating oil onto the area where the pedal spindle meets the crank arm. This will help to loosen up any rust or debris that might be causing the pedal to stick.
- Let It Sit: Give the oil a little time to work its magic. Letting it sit for about 10-15 minutes will help break down any stubborn residue.
- Use the Wrench: Now it’s time to put that adjustable wrench to good use. Place it on the flat sides of the pedal spindle and turn it counterclockwise (lefty loosey) to try and loosen the pedal.
- Apply Steady Pressure: If the pedal isn’t budging, don’t go full Hulk mode! Apply steady pressure to the wrench and try gently tapping it with a rubber mallet. This might help to break the pedal free.
- Alternate Sides: If one side isn’t working, try the other. Sometimes, one side of the pedal might be more cooperative than the other.
- Patience is Key: Removing a stuck pedal can take a bit of time and patience. Be persistent, but also gentle. You don’t want to strip any threads or cause damage.
- Clean and Lubricate: Once you’ve successfully removed the pedal, take a moment to clean the threads on the crank arm and the pedal spindle. Then, apply a bit of grease to the threads before reattaching the pedal.
- Reattach the Pedal: With everything cleaned up and lubricated, reattach the pedal. Use your adjustable wrench to turn it clockwise (righty tight) until it’s snug.
Remember, the key is to take it slow and steady. Rushing or using excessive force can lead to damage. If you find that you’re still struggling to remove the pedal, it might be a good idea to reach out to Peloton’s customer support or consider consulting a professional for assistance.
Conclusion
Understanding how to unclip Peloton shoes is a crucial skill for any indoor cyclist. This guide provides insights into the importance of safe unclipping practices, prevention of injuries, and the maintenance required for Peloton shoes and clips.
Practicing and perfecting this technique enhances the overall riding experience and ensures safety.
Learning to unclip Peloton shoes might be challenging initially, but with regular practice and attention to detail, it becomes a natural part of the riding process. Encouragement to practice and refine this technique fosters confidence in riders.
Embracing this skill not only elevates the cycling experience but also ensures a safer, more efficient ride. Regularly practicing unclipping and adhering to maintenance guidelines makes the entire process second nature, contributing to a more enjoyable and fulfilling Peloton journey.
Thanks For Visiting!
Related Articles: